- Unity User Manual (2017.1)
- 动画
- 动画剪辑
- 外部来源的动画
- Animation Curves on Imported Clips
Animation Curves on Imported Clips
Animation curves can be attached to imported animation clips in the Animations tab of the Animation Import Settings.
These curves allow you to add additional animated data to an imported clip, which can allow you to animate the timings of other items based on the the state of an animator. For example, in a game set in icy conditions, an extra animation curve could be used to control the emission rate of a particle system to show the player’s condensing breath in the cold air.
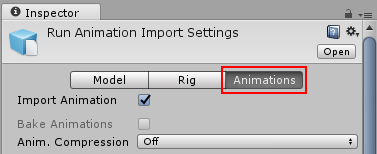
To add a curve to an imported animation, first select the imported animation file in your project view, then in the import settings in the inspector, select the Animations button.

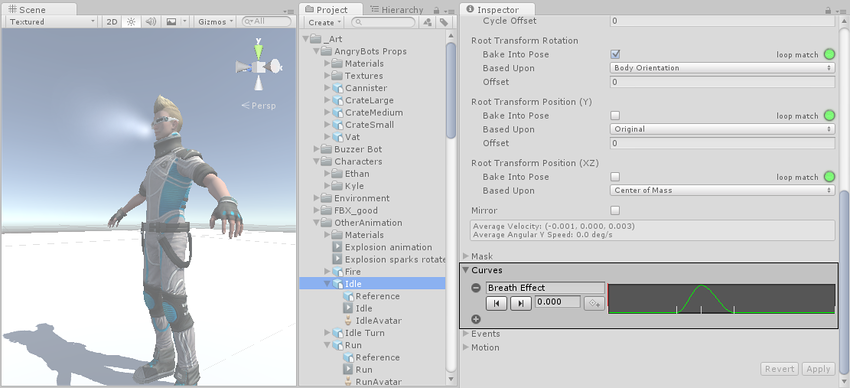
Then scroll all the way to the bottom of the inspector to find the Curves heading, among the four fold-out headings as shown:

Expand the curves heading, and click the plus icon to add a new curve to the current animation clip. If your imported animation file is split into multiple animation clips, each clip can have its own custom curves.

曲线的 X 轴表示_标准化时间_,范围始终在 0.0 和 1.0 之间(无论持续时间如何,均分别对应于动画剪辑的开头和结尾)。

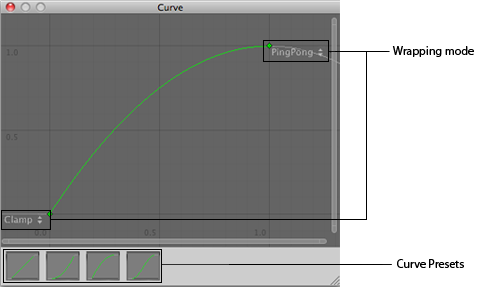
Double-clicking an animation curve will bring up the standard Unity curve editor (see Editing Value Properties for further details) which you can use to add keys to the curve. Keys are points along the curve’s timeline where it has a value explicitly set by the animator rather than just using an interpolated value. Keys are very useful for marking important points along the timeline of the animation. For example, with a walking animation, you might use keys to mark the points where the left foot is on the ground, then both feet on the ground, right foot on the ground, etc. Once the keys are set up, you can move conveniently between key frames by pressing the Previous/Next Key Frame buttons. This will move the vertical red line and show the normalized time at the keyframe; the value you enter in the text box will then set the value of the curve at that time.
Animation Curves and Animator Controller parameters
If you have a curve with the same name as one of the parameters in the Animator Controller, then that parameter will take its value from the value of the curve at each point in the timeline. For example, if you make a call to GetFloat from a script, the returned value will be equal to the value of the curve at the time the call is made. Note that at any given point in time, there might be multiple animation clips attempting to set the same parameter from the same controller. In that case, the curve values from the multiple animation clips are blended. If an animation has no curve for a particular parameter then the blending will be done with the default value for that parameter.