Progressive GPU Lightmapper (Preview)
Note: This is a preview feature and is subject to change. If you have Scenes that use this feature, you might need to update them in a future release. Do not rely on this feature for full-scale production until it is officially released.
The GPU Lightmapper gives you an interactive workflow when you’re setting up and tweaking the lighting in your Scene. Because this lightmapper uses the GPU in your computer to generate baked lightmaps and Light probes, it’s a faster alternative to the CPU Progressive Lightmapper. Sampling and noise patterns look slightly different than those produced by the CPU lightmapper, because the sampling algorithm is different.
Hardware and software requirements
To use the Progressive GPU Lightmapper, your computer must have:
- At least one GPU with OpenCL 1.2 support
- At least 2GB of dedicated GPU memory
- A CPU that supports SSE4.1 instructions
If your computer has more than one GPU, you can choose to use one for rendering and one for light baking. To change this have a look at configuring which GPU to use for the lightmapper.
Note: If the baking process uses more than the available GPU memory, the process can fall back to the CPU Lightmapper. Some graphics drivers with virtual memory support swap to CPU memory instead, which makes the baking process slower.
Selecting the Progressive GPU Lightmapper
To select the Progressive GPU Lightmapper in the Unity Editor:
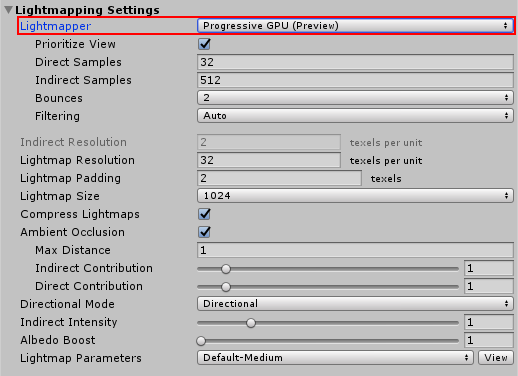
- In your Project, go to Window > Rendering > Lighting Settings.
- Under Lightmapping Settings, find the Lightmapper property, and select Progressive GPU (Preview) in the drop-down menu.
Configuring which GPU to use
If your computer has more than one GPU, Unity will select the same graphics hardware as the editor uses. It is also possible to select one GPU for rendering the Scene and another GPU for baking lighting. If the automatic GPU assignment don’t fit your needs, you can specify which graphics card to use for baking.
To see which GPU Unity currently uses for baking, in the Editor: In your Project, open the Lighting window. Next to Bake Performance, you can see the GPU.
To see the available GPUs in your machine:
- Make sure you’ve selected the Progressive GPU lightmapper in the Editor.
- Generate the lighting in your Scene.
- Open File Explorer, and navigate to the following path: C:\Users\USER\AppData\Local\Unity\Editor. Open the file called Editor.log.
- In the file, search for the line Listing OpenCL platforms. This should jump to the part of the log with information about OpenCL devices. Here, you can see your available GPUs along with their corresponding platform and device indexes.
To select a specific GPU for baking, enter this command at the command line (replace platform and device index with the relevant numbers):
Unity.exe "-OpenCL-PlatformAndDeviceIndices" <platform> <device index>
Your choice of assignment should depend on your needs while you’re working on the Scene. If you assign the strongest GPU to either activity, this can incur a performance impact on the other activity. If you encounter issues, try re-assigning GPUs.
限制
The Progressive GPU Lightmapper does not support:
- Baked LOD
- A-Trous filtering. It only uses Gaussian filtering
- The custom bake API (experimental)
- Submeshes (the lightmapper uses Material properties on the first submesh)
- 2019–04–18 Page published with editorial review
- Preview of Progressive GPU Lightmapper added in 2018.3 NewIn2018X